Sword Fights on the Heights IV SFOTH IV Combat Tips
Movement tech, sustain tricks, and streak habits for the Heights.
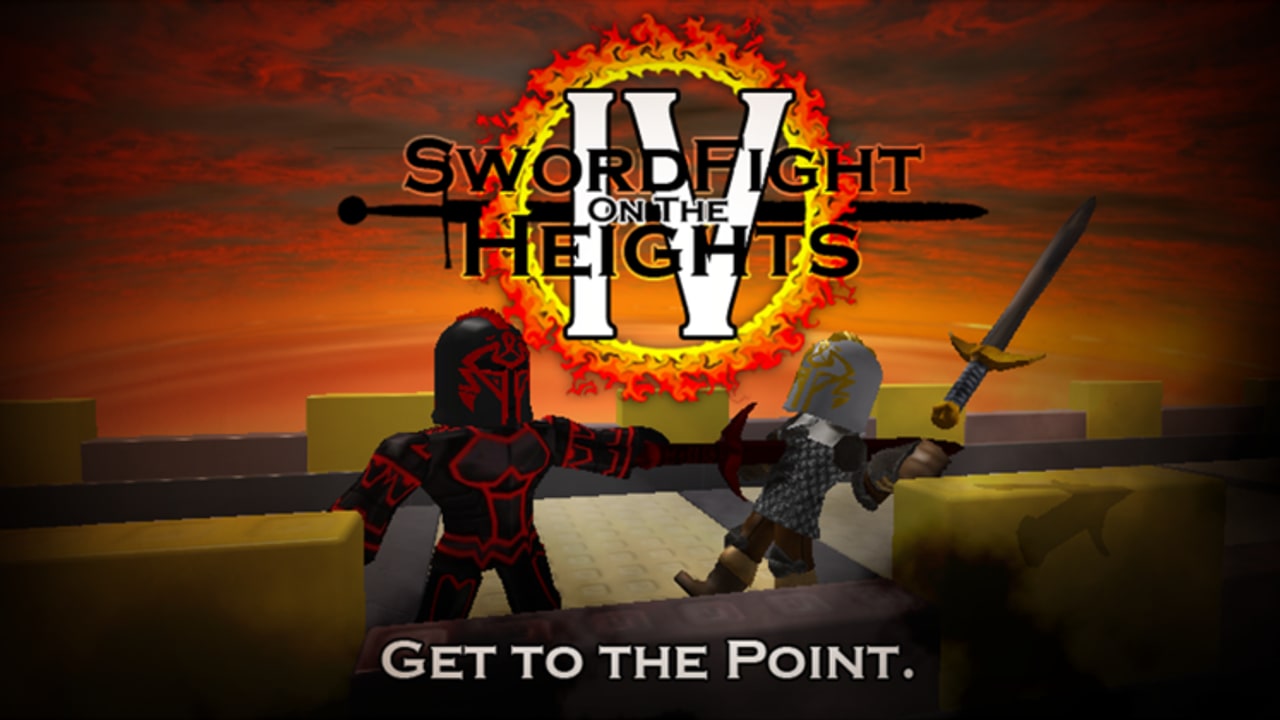
Combat on the Heights is movement first
Raw damage charts matter, but most SFOTH IV deaths are positioning failures: bad lunges near edges, greed after a pickup, or refusing to Touchstone out. This guide assumes you already know slash versus lunge (Controls) and can reach major spawns (Sword locations). Pair it with the Tier list for matchup preference once the habits below feel natural.
Illumina fly (double Illumina)
Illumina aerial lunges dramatically increase jump height and forward dash. The modern movement tech stacks that property:
- Place two Illumina swords on adjacent hotbar slots.
- Jump and lunge with Illumina A.
- As the lunge ends mid-air, swap to Illumina B and lunge again.
- Repeat swaps to stay aloft and travel.
This is widely treated as a physics quirk that the community adopted as meta. Some veterans still prefer older Ghostwalker-centric movement. You do not need Illumina fly to enjoy the game, but you do need to recognize it—opponents will dive you from odd angles.
Practice method
- Train inside / above the Locus so failed flights are cheap.
- Keep Touchstone one key away; if a flight dies over the void, teleport immediately.
- Do not learn fly for the first time on a contested Illumina pedestal. Secure two blades, retreat, then practice.
For a dedicated flight-practice walkthrough—hotbar layouts, Locus drills, and recovery habits—see Illumina fly. During the Hunt-era September 2026 patches, server-authority rubberbanding and fling lunges made aerial swaps less predictable than the 2020 Quenty baseline, so re-test your timing after any place update before staking streaks on long void crossings.
Illumina + Ghostwalker hybrid movement
Another strong pattern is Illumina for burst travel and Ghostwalker for floaty approaches, streak damage scaling, and awkward angles. Swap based on height needs:
- Illumina when you must clear gaps or chase vertically.
- Ghostwalker when you want softer landings, invis pressure, or scaling damage after KOs.
Remember Illumina sparkles help reveal nearby invisible players. If you are the Ghostwalker user, assume competent Illumina holders can still track you.
Darkheart forcefield heal
Darkheart returns a large portion of damage dealt as health (commonly cited around 40%). Critically, life steal can still apply when you swing into players who are inside a forcefield—including people lingering in spawn protection or Locus-exit FF states depending on timing.
How to use it cleanly
- After a hard fight, find an FF target and take safe swings to top off instead of hard-resetting every time.
- Do not stand still farming heals in a doorway that an Illumina flyer can dive.
- Combine with Medkit routes from the red portal when you need both burst heal and life steal.
Darkheart is sustain, not immortality. Players with higher burst (stacked Ghostwalker, clean Illumina lunges) can still outpace your heal if you whiff.
Touchstone escapes
Touchstone is the best “panic button”on the map. Activate it to teleport to the Locus saferoom.
Use it when:
- An Illumina flight fails over void.
- Two players collapse on your pedestal.
- You win a trade but have no health left for the next challenger.
- You need a portal reroute faster than parkour allows.
Do not treat Touchstone as shameful. Streaking is a resource game; living with one KO is better than dying with three because you wanted a cinematic finish. Hotbar advice lives in Controls.
Windforce KO caveat
Windforce slap knockback looks free until it is not.
- Knocking someone off a pad also broadcasts the same edge geometry to anyone watching you.
- Lunging after a Windforce hit can carry you into the void if camera recovery is slow.
- On narrow beams, Windforce is as dangerous to the wielder as to the victim.
Best practice: use Windforce to separate groups or shove people away from pedestals, then swap to a cleaner finisher (Illumina, Darkheart, scaled Ghostwalker) once they are destabilized on safer footing. If you only need Hunt pickups, you may not need Windforce fights at all—see Hunt Roblox 20.
Firebrand versus Ice Dagger
Ice Dagger threatens freeze / near-instant outcomes but comes with equip-delay style constraints and counterplay. Firebrand is the practical answer in many classic matchups: keep it available when ice users are in the server so you are not stuck trying to out-poke a freeze timer with Linked Sword habits.
Rules of thumb:
- Hear or see ice play — make Firebrand reachable on the hotbar.
- Do not respect Ice Dagger so much that you never approach; respect it enough that you do not enter a freeze range with the wrong blade equipped.
- Venomshank poison pressure is a different axis—chip after hit—so do not confuse poison with freeze counters.
Exact spawn paths: Sword locations.
Streaking tips that actually stick
- Leave pedestals immediately. Standing on Illumina after pickup is free advertising.
- Cap greed. After two KOs, inventory-check Touchstone and health before hunting a third.
- Choose servers on purpose. Quiet servers for route practice; denser servers for combat learning—not both goals at once.
- Pre-aim portals. Decide “blue for Windforce”before you enter Locus so you do not afk in the saferoom menu of options.
- Camera recover after every knockback. Half a second of reorienting prevents self-KOs.
- Swap before you need to. If a duel clearly needs Darkheart sustain, switch early rather than mid-lunge.
- Ignore chat bait. Players will dare you to drop Touchstone ethics. Keep your streak rules.
- Reset intentionally. Sometimes dying on purpose near a preferred spawn beats a doomed low-HP chase across three voids.
Against common archetypes
- Illumina flyers: do not stand on open pads staring upward; move under cover, prepare anti-air lunges, or leave via Touchstone.
- Ghostwalker stalkers: hold Illumina for sparkle reads; listen for audio cues; avoid tunnel vision on one chase.
- Darkheart tanks: deny them free FF healing angles; burst windows matter more than prolonged equal trades.
- Windforce edge campers: refuse beam duels on their terms; drag fights to wider pads.
- Ice dagger ambushers: Firebrand ready; do not equip-swap late inside their range.
Event combat vs normal combat
During The Hunt: Roblox 20, optimal play is often avoidance. The four-sword counter survives death, so ego duels slow you down. Clear pickups, Touchstone if swarmed, finish the badge, then optionally return for the Secret Quest. Save true streak attempts for after the UGC is claimed.
Related guides
Bottom line
Win more SFOTH IV fights by combining Illumina movement, Darkheart sustain, and Touchstone discipline. Respect Windforce edges, keep Firebrand ready for ice, and treat streaks as resource management—not a dare. Once these habits are automatic, sword tier arguments become secondary to execution.
Frequently Asked Questions
Quick answers to the most common questions.
How do I Illumina fly in SFOTH IV?
Hold two Illuminas on adjacent hotbar slots, lunge in the air with one, swap, and lunge with the other repeatedly to stay airborne.
Can Darkheart heal through forcefields?
Yes. Darkheart life steal can return health even when you swing at forcefielded players, making it a strong sustain tool.
When should I use Touchstone in a fight?
Use it when a flight fails, when you are collapsed on by multiple players, or when you are too low to take another duel. Escaping preserves streaks.
Why is Windforce risky?
Its knockback can throw enemies—and you—into the void. On narrow platforms it is as dangerous to the wielder as to the target.
What counters Ice Dagger?
Keep Firebrand available. It is the practical classic answer when freeze users are active in the server.
Should I fight during The Hunt sword objective?
Usually no. Collect four swords and rely on the death-safe event counter. Save serious PvP for after the badge and UGC claim.